The world of print-on-demand (POD) is booming, offering entrepreneurs a fantastic opportunity to launch clothing lines and sell unique, personalized merchandise without the hassle of inventory management. One of the most popular and versatile methods for POD printing is Direct-to-Garment (DTG) printing, a technology that’s revolutionizing how we create custom apparel.
DTG printing, as its name suggests, allows you to print designs directly onto garments, unlike traditional screen printing which involves creating stencils for each color. This digital process unlocks a world of creative possibilities, allowing for intricate details, photorealistic imagery, and vibrant full-color prints on a wide range of fabrics. If you’re a POD seller looking to elevate your brand and offer high-quality custom apparel, mastering DTG printing is a game-changer.
This comprehensive guide will walk you through the ins and outs of DTG printing, providing a step-by-step roadmap for creating stunning prints and building a successful POD business. We’ll delve into the fundamentals of the process, explore essential equipment, unravel the secrets of artwork preparation, and equip you with the knowledge to optimize your DTG printing workflow.
Table of Contents:
- I. DTG Printing Fundamentals
- II. Artwork Preparation for DTG Printing
- III. Optimizing Your DTG Printing Workflow
- IV. Launching and Growing Your DTG Print on Demand Business
- V. DTG Printing FAQs
DTG Printing Fundamentals
The Process:
DTG printing may seem complex at first glance, but the process is surprisingly straightforward. Let’s break it down into five simple steps:
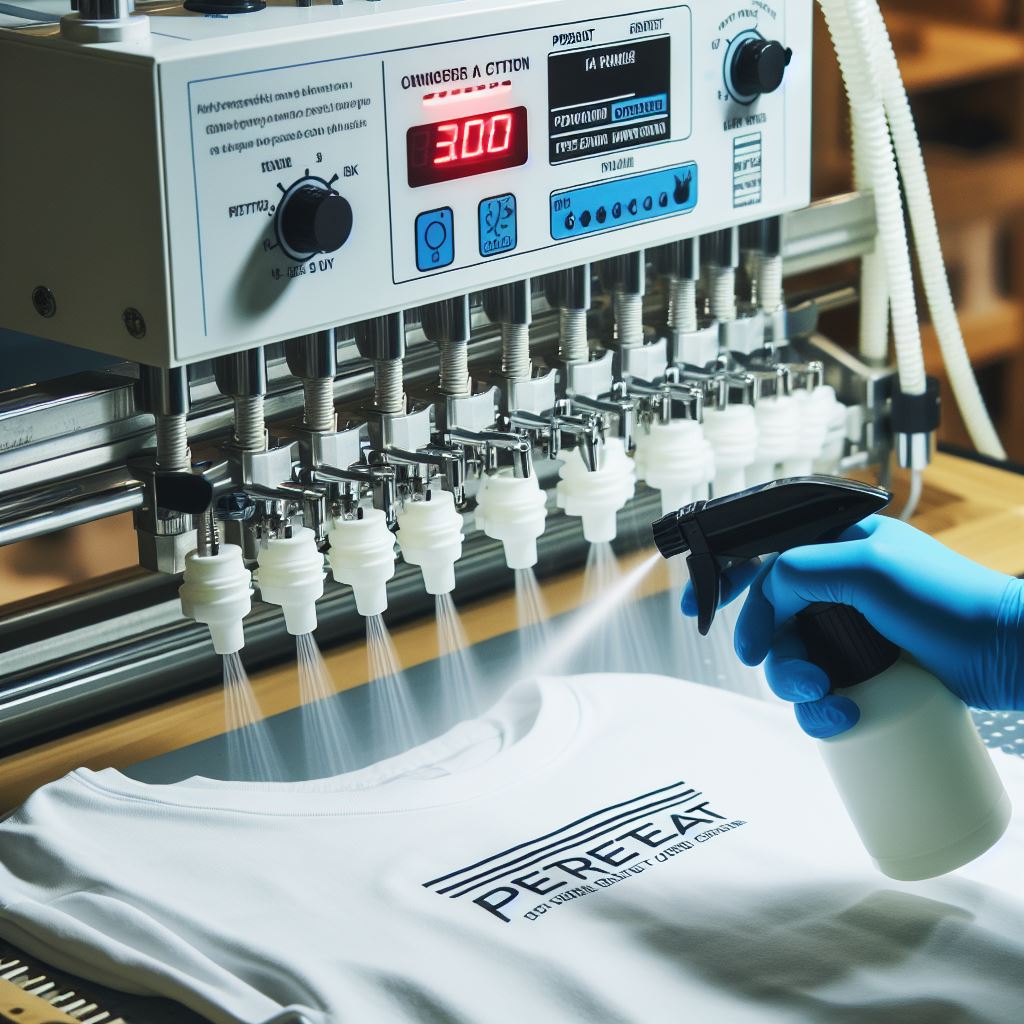
- Pretreating the Garment: This crucial step involves applying a special solution to the garment, typically using a pretreat machine. The pretreat acts as a bonding agent, ensuring the ink adheres properly to the fabric and prevents bleeding or fading.
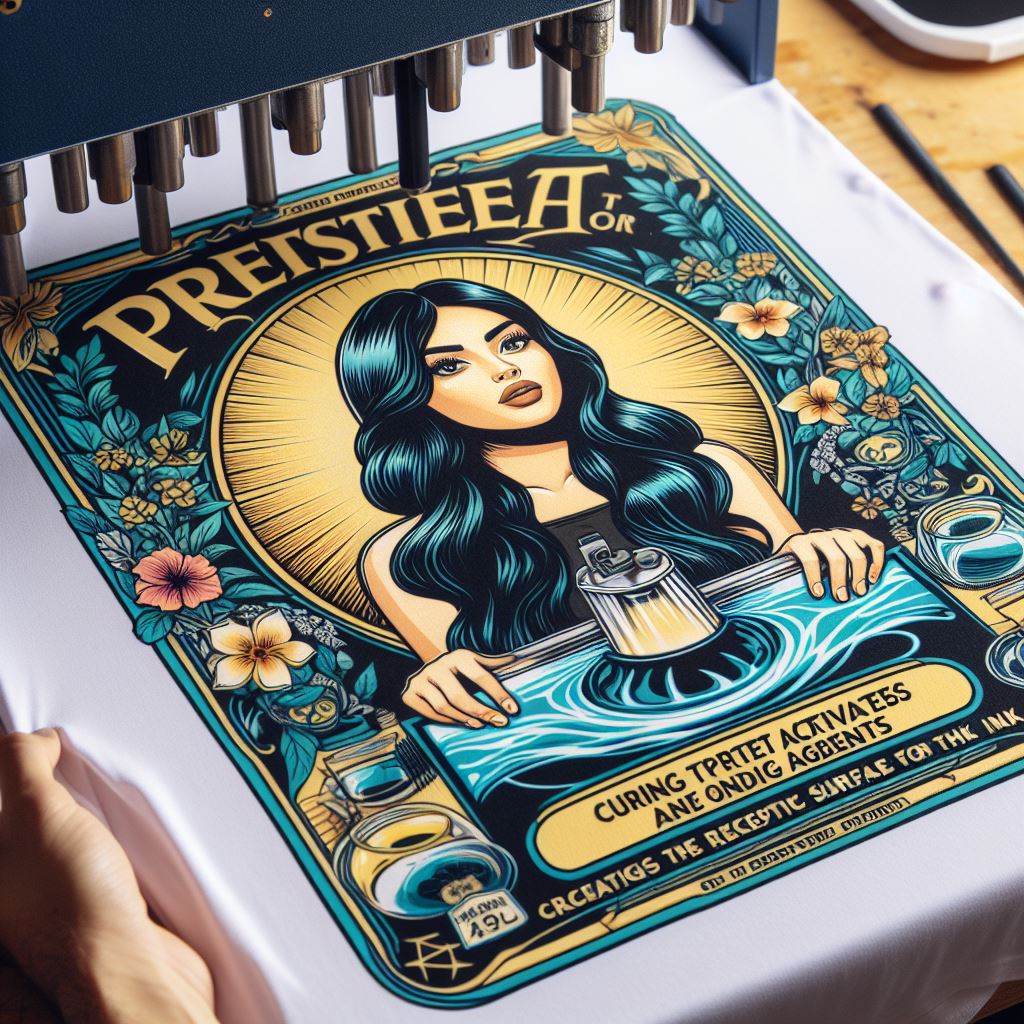
- Drying and Curing the Pretreat: After applying the pretreat, the garment needs to be dried and cured, usually using a heat press. This step activates the bonding agents in the pretreat, preparing the fabric for ink application.
- Loading the Garment onto the Platen: The prepared garment is carefully loaded onto the platen – the flat printing surface of the DTG printer – and secured using a specialized frame or hoop to ensure it remains flat and taut during printing.

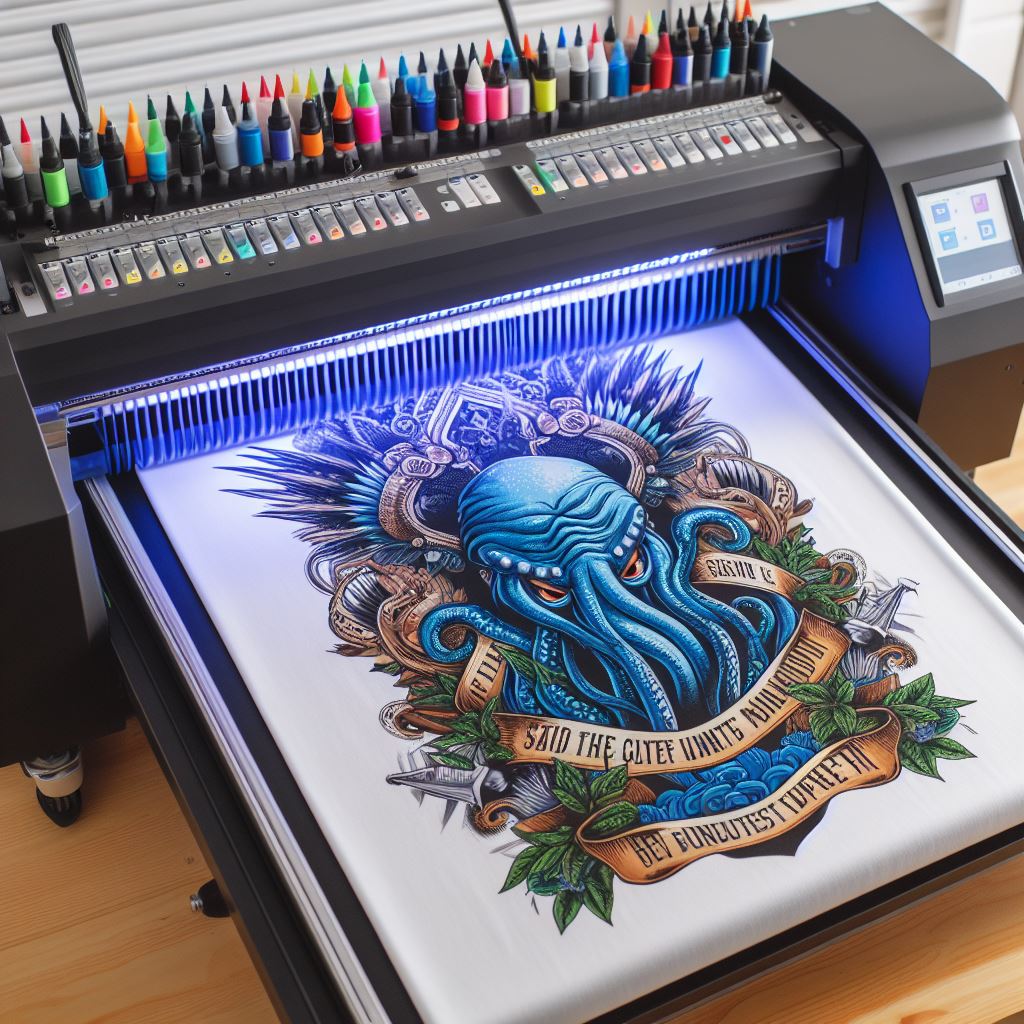
- Printing the Design: Using specialized inks, the DTG printer digitally prints the design directly onto the garment, layer by layer. The printer accurately positions the print head, ensuring intricate details and vibrant colors are precisely applied.
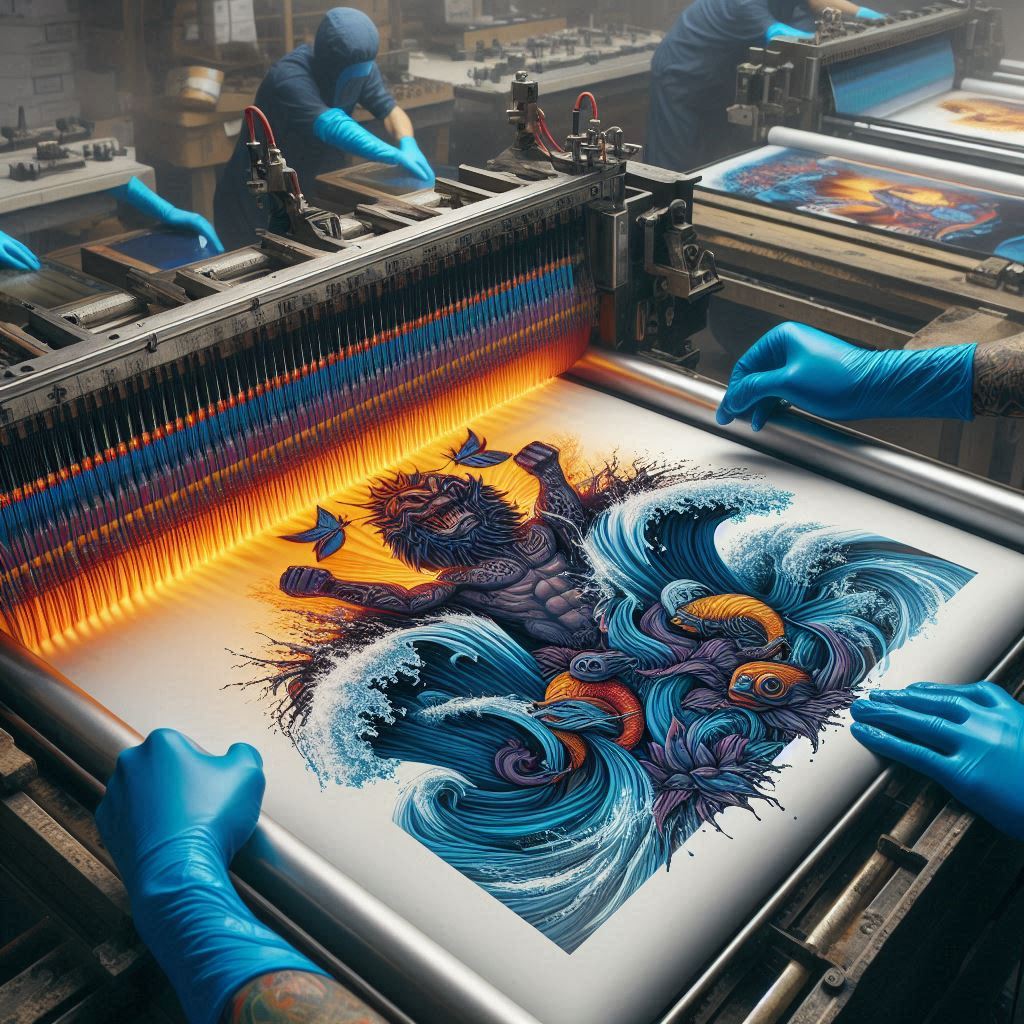
- Curing the Final Print: Once the printing is complete, the garment is cured again using a heat press or conveyor dryer. Curing sets the ink permanently into the fibers of the fabric, ensuring a durable and wash-fast print.
Essential Equipment:
Now that you understand the basic process, let’s explore the essential tools you’ll need to embark on your DTG printing journey.
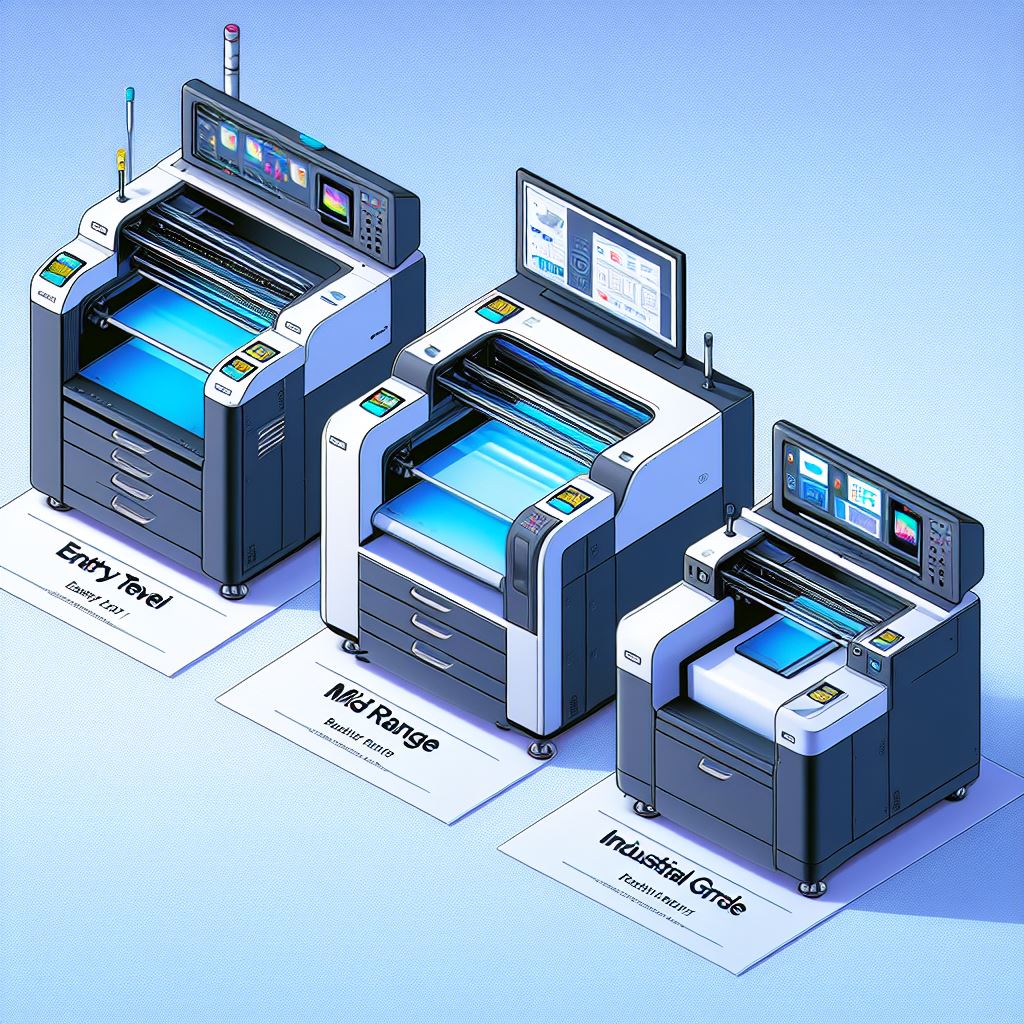
- DTG Printer: The heart of your DTG operation, the printer itself comes in various models, ranging from entry-level machines for hobbyists and small businesses to industrial-grade printers for high-volume production. Some popular models mentioned in the audio include the Epson F2100, OmniPrint FreeJet 330TX Plus, and Brother GTX 380. Consider your budget, production needs, and desired print quality when selecting a printer.
- Heat Press: A high-quality heat press is crucial for curing pretreat and setting the final print. Dual-station heat presses are especially beneficial for DTG printing, allowing you to cure pretreat on one station while simultaneously curing prints on the other, significantly boosting your production efficiency.
- Pretreat Machine: While you can manually apply pretreat solution, a dedicated machine streamlines the process and ensures consistent, even coverage, resulting in superior ink adhesion and print quality.
- Pretreat Solution: Choose a pretreat solution specifically formulated for DTG printing and the fabric you intend to print on. Different solutions are available for cotton, blends, and other materials.
- RIP Software: RIP (Raster Image Processor) software is essential for translating your designs into a format that the DTG printer can understand. The RIP software manages color profiles, adjusts print settings, and generates the print data for optimal output. Some popular RIP software mentioned in the audio include the Roland Design Software and Garment Creator 2.
Artwork Preparation for DTG Printing:
While DTG printing allows for intricate designs and photorealistic detail, preparing your artwork correctly is paramount for achieving stunning results. Here are the essential design considerations:
Design Essentials:
- Resolution: High-resolution images are crucial for sharp and detailed prints. Avoid using low-resolution images as they can lead to pixelation and blurry prints. Aim for at least 300 DPI (dots per inch) for optimal print quality.
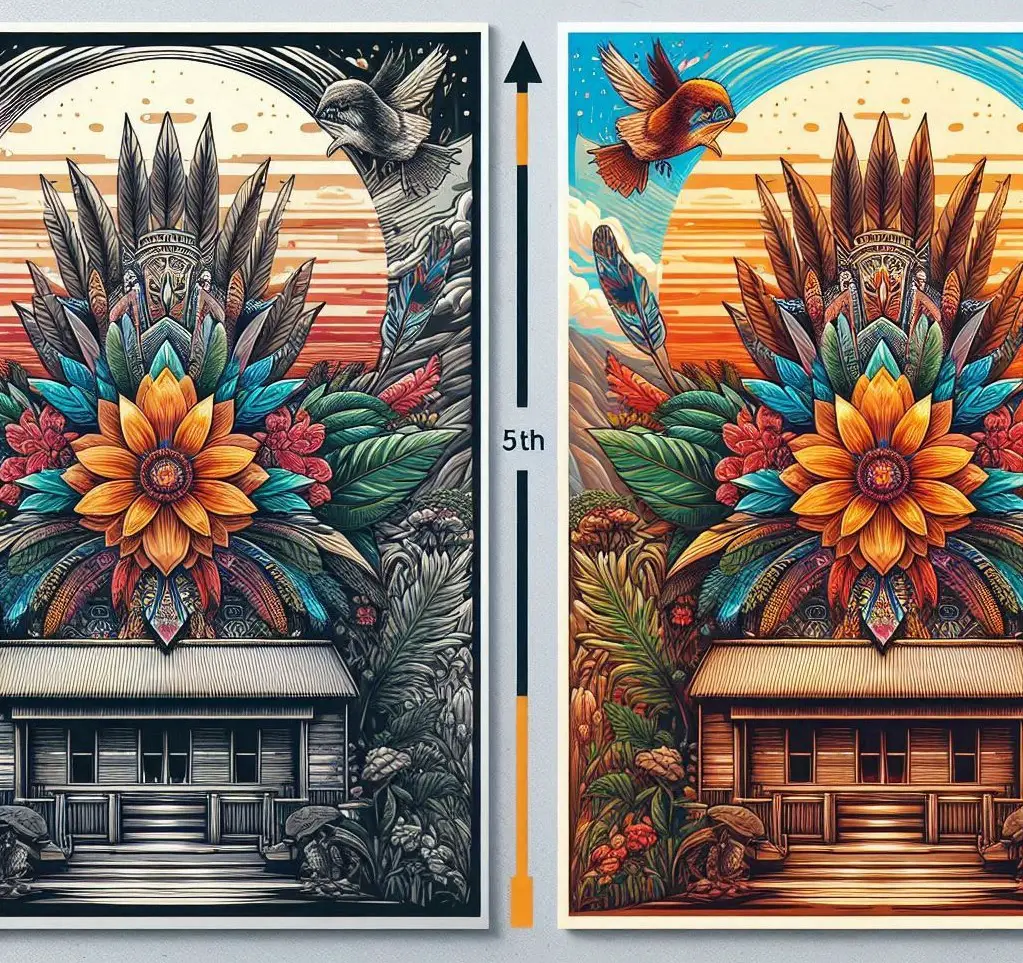
- Transparency: Unlike other printing methods, DTG printers cannot print transparency. Any transparent areas in your design will show the garment color underneath. Ensure your designs are 100% opaque to avoid unexpected results.
- Color Management: Most graphic design software operates in RGB (Red, Green, Blue) color mode, which is ideal for screen displays. However, DTG printers use CMYK (Cyan, Magenta, Yellow, Key/Black) color mode. Convert your designs to CMYK before printing to ensure accurate color representation on garments.
Advanced Design Considerations:
- Gradients: Achieving smooth gradients with DTG printing can be challenging due to the way ink is laid down on the fabric. Use dithering techniques or halftone patterns to create the illusion of smooth gradients. These techniques break down the gradient into tiny dots of varying sizes, creating a more seamless transition.
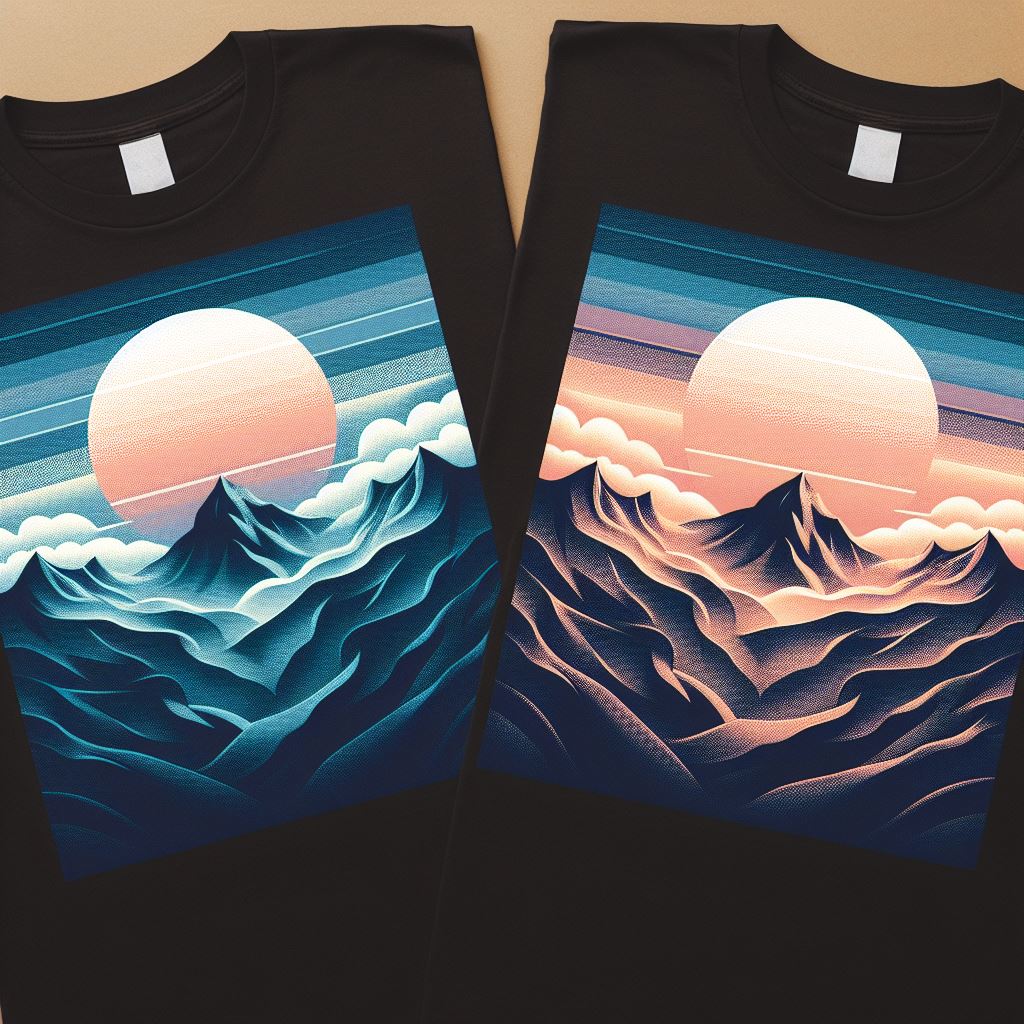
- Photorealism vs. Halftones: Photorealistic designs with continuous tones tend to print well with DTG printing, as the printer can accurately reproduce the subtle variations in color and shading. Designs with halftone patterns, such as those often used in screen printing, may require adjustments to achieve the desired outcome. Experiment with different print settings and halftone patterns to optimize your results.
Optimizing Your DTG Printing Workflow
Once you’ve got your artwork ready and your equipment assembled, it’s time to dive into the actual printing process. This section focuses on optimizing your workflow to ensure consistent, high-quality prints and maximize your production efficiency.
Pretreatment Techniques:
Pretreatment is arguably the most crucial step in DTG printing, as it directly impacts how well the ink adheres to the fabric and the overall quality of your prints. Mastering pretreatment techniques will ensure vibrant colors, sharp details, and durable, wash-fast prints.
- Garment Selection: While 100% cotton garments are generally ideal for DTG printing, you can also print on blends and other fabrics. However, different fabrics may require adjustments in both the pretreating and printing processes. Always refer to your pretreat solution and printer manufacturer’s instructions for specific fabric recommendations.
- Applying Pretreat Solution: For optimal results, use a dedicated pretreat machine to apply the solution evenly across the printing area. This ensures consistent ink adhesion and prevents blotchy or faded prints. Ensure the garment is laid flat and smooth before spraying, and follow the manufacturer’s instructions for spray distance and coverage.
- Drying and Curing Pretreat: After applying the pretreat, thoroughly dry the garment using a heat press or conveyor dryer. Curing the pretreat is essential for activating the bonding agents and creating a receptive surface for the ink. Follow the manufacturer’s instructions for specific time and temperature settin
Efficient Garment Loading and Printing:
Proper garment loading is crucial for achieving accurate print placement and preventing wrinkles or distortions in the design. Follow these steps for efficient and precise garment loading:
- Centering Techniques: Accurate centering is vital for ensuring your designs are printed exactly where you want them on the garment. Use the sleeve stitching as a guide for centering. Lay the garment flat on the platen, ensuring the sleeve stitching on both sides is equidistant from the edges of the platen.
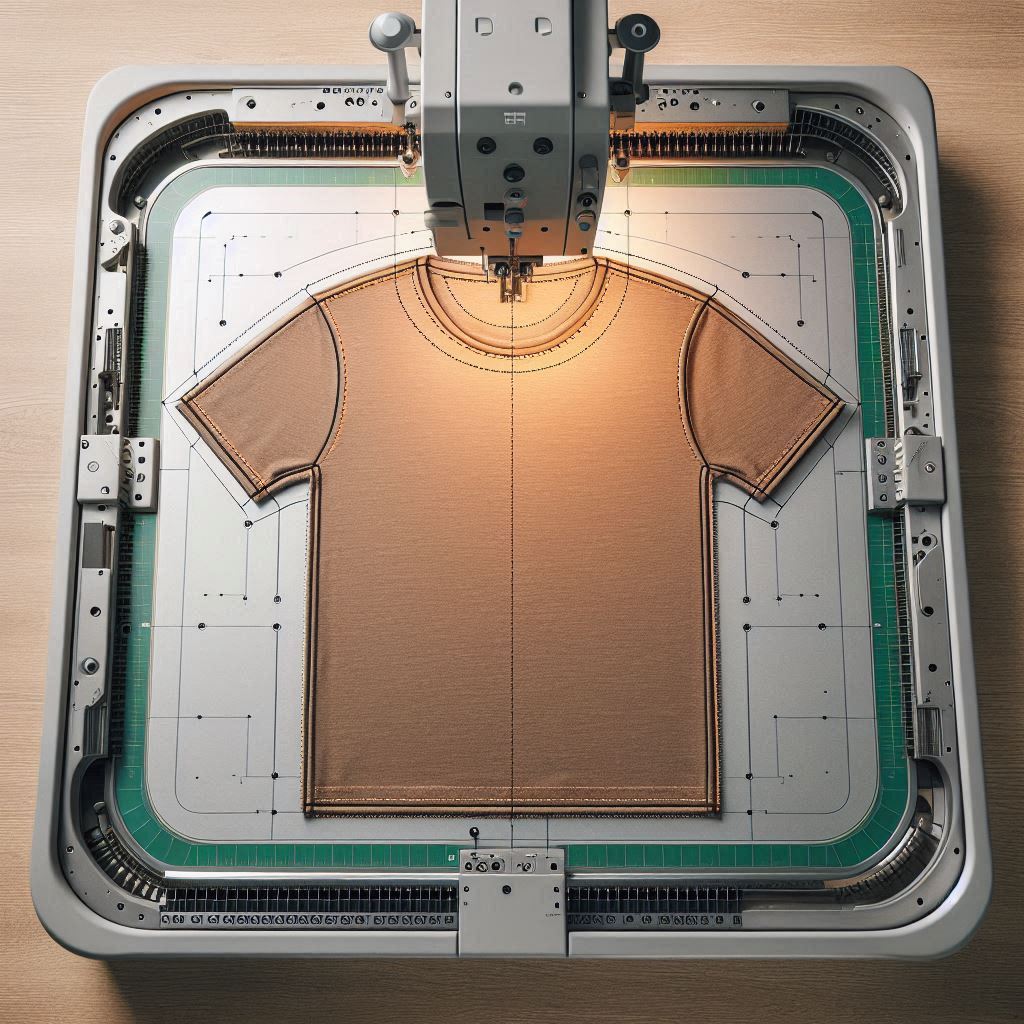
- Utilizing Platen Gap: The platen gap refers to the distance between the platen and the print head. Adjust the platen gap according to the thickness of the garment to ensure the print head maintains the optimal distance for ink application. If the gap is too close, the print head may drag across the fabric, causing smudging or ink buildup. If it’s too far, the ink may not adhere properly, leading to faded or blurry prints.
- Utilizing Multiple Platens: If your DTG printer supports multiple platens, leverage this feature to significantly speed up your production. While one garment is being printed, you can pretreat and prepare the next garment on a second platen, reducing downtime and maximizing output.
Print Settings and Quality Control:
Selecting the right print settings is essential for achieving your desired print quality and maximizing your ink efficiency. Here’s a breakdown of key print settings to consider:
- Garment Color: Different garment colors require different print settings. For dark garments like black t-shirts, the printer needs to lay down a white underbase layer before printing the color design. This underbase ensures the colors appear vibrant and opaque on the dark fabric. For white garments, a white underbase is not necessary, and the printer will directly print the CMYK colors onto the fabric. Light-colored garments may benefit from a light white underbase to enhance color vibrancy, depending on the design.
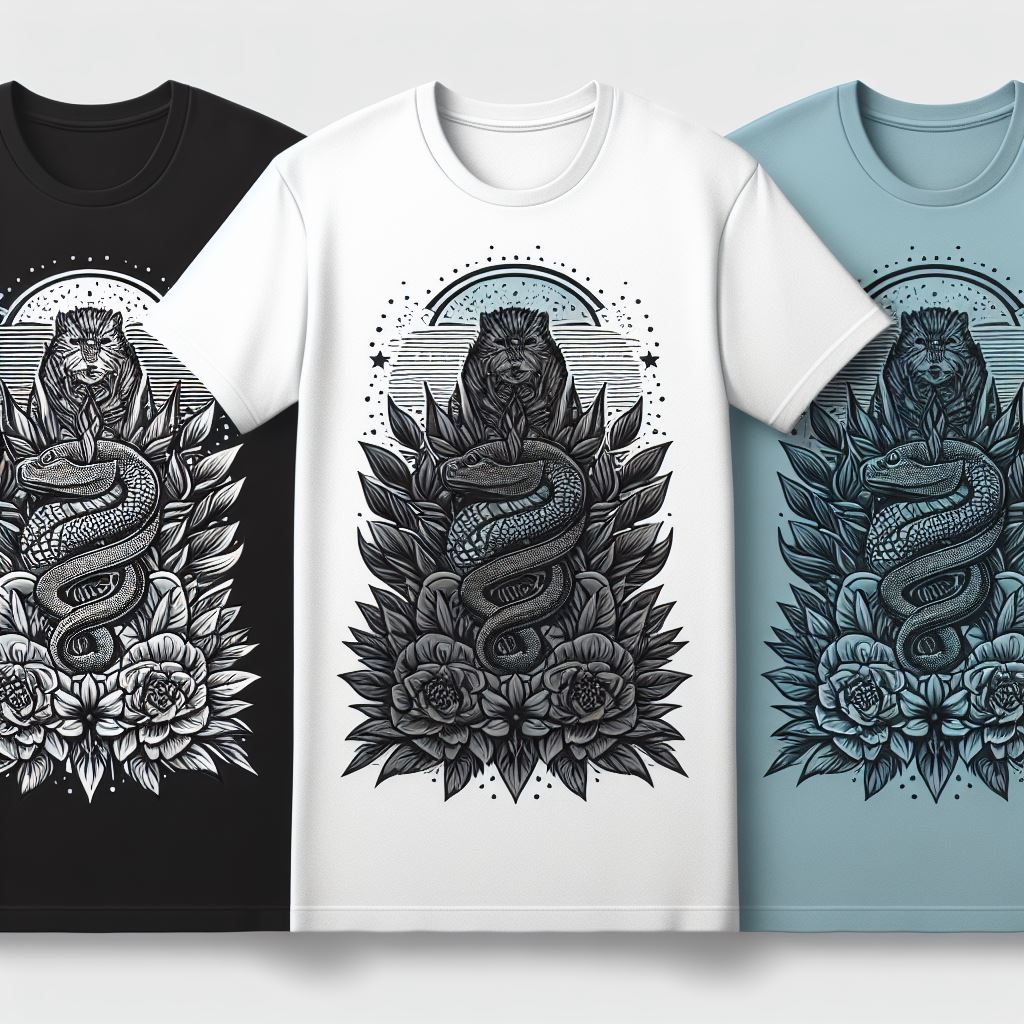
- Design Complexity: Intricate designs with fine details and subtle gradients may require higher print quality settings, which use more ink and print at a slower speed. Simpler designs with bold colors can be printed at lower quality settings for faster production and less ink consumption.
- Desired Print Quality: Most RIP software offers various print quality levels, typically ranging from low to high. Higher quality levels produce more detailed prints with smoother gradients but take longer to print and use more ink. Lower quality levels prioritize speed and ink efficiency but may sacrifice some detail and color accuracy. Choose the appropriate level based on your priorities and the intended use of the printed garment.
Launching and Growing Your DTG Print on Demand Business
Now that you’ve grasped the technical aspects of DTG printing, let’s shift our focus to the business side of things. This section provides a roadmap for launching and growing your DTG print-on-demand business, turning your creative vision into a profitable venture.
Establishing Your Business:
Starting a DTG print-on-demand business involves more than just acquiring equipment and mastering the printing process. You need to approach it strategically, building a solid foundation for success.
- Market Research: Before diving headfirst into production, take the time to understand your target audience and their needs. Research current trends in apparel, identify potential niches, and analyze your competition. This research will guide your brand positioning, product offerings, and marketing efforts.

- Building Your Brand: Creating a strong brand identity is vital for standing out in the crowded POD market. Develop a unique brand name, logo, and visual style that resonates with your target audience. This includes choosing a color palette, typography, and overall aesthetic that reflects your brand’s personality and values.
- Setting Up an Online Store: Your online store is your virtual storefront, where customers will browse and purchase your products. Choose an e-commerce platform that fits your needs and budget, such as Shopify, Etsy, or WooCommerce. Design a user-friendly and visually appealing storefront that showcases your products and brand identity.
- Product Pricing: Determining the right price for your products is crucial for profitability. Factor in your production costs (garment cost, ink, pretreat solution, labor, etc.) as well as your desired profit margin. Research competitor pricing and consider offering different price points for various products and design complexities.
- Fulfillment Options: You have two main options for fulfilling orders: self-fulfillment and third-party fulfillment. Self-fulfillment involves handling the entire process in-house, from printing to packaging and shipping. Third-party fulfillment providers, such as Printful, handle the printing, packing, and shipping for you, freeing you to focus on design, marketing, and customer service. Choose the option that best aligns with your resources, budget, and growth plans.
Scaling Your DTG Operation:
Once you’ve established a solid foundation, you can start scaling your DTG print-on-demand business to reach a wider audience and increase your revenue.
- Investing in Additional Equipment: As your order volume grows, consider investing in additional equipment to boost your production capacity and efficiency. This may involve purchasing a second DTG printer, a dual-station heat press, an additional pretreat machine, or a conveyor dryer.
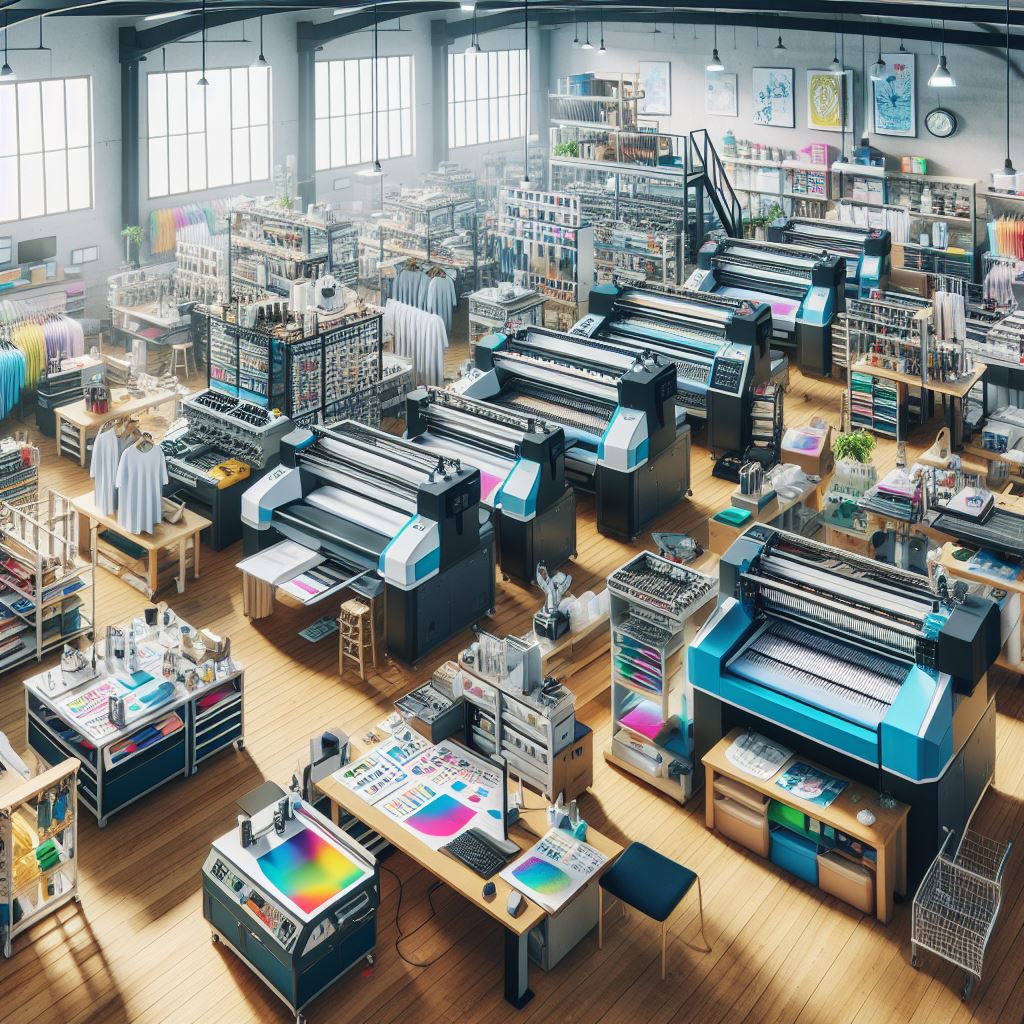
- Optimizing Workflow: Continuously analyze and refine your workflow to maximize efficiency and reduce production time. This includes streamlining your pretreating, printing, and curing processes, organizing your workspace for optimal flow, and minimizing downtime between orders.
- Expanding Your Product Offerings: Diversify your product line to offer a wider range of DTG printed items. Explore different garment styles (hoodies, sweatshirts, tank tops, etc.), as well as non-apparel items such as tote bags, phone cases, mousepads, and canvas prints.
- Marketing and Promotion: Effective marketing is essential for attracting customers and driving sales. Utilize a multi-channel approach, including social media marketing, email marketing, paid advertising, influencer collaborations, and content marketing. Create compelling product photos and videos, engage with your audience, and run promotions to incentivize purchases.
DTG Printing FAQs
As you delve deeper into the world of DTG printing, you’re bound to encounter questions and challenges along the way. This FAQ section addresses some common inquiries and concerns, providing clarity and guidance for a smooth printing experience.
What are the common issues that can arise with DTG printing?
DTG printing, like any printing method, comes with its own set of potential issues. Here are some common problems you might encounter and how to address them:
- Print Head Clogging: Inkjet printers, including DTG printers, are susceptible to print head clogging, especially if not used regularly or maintained properly. Clogging occurs when dried ink obstructs the tiny nozzles in the print head, leading to gaps or streaks in the printed design.
- Solutions: Regular cleaning is crucial to prevent clogging. Perform daily print head cleaning cycles using the printer’s built-in maintenance functions. If clogging occurs, use a print head cleaning solution and follow the manufacturer’s instructions for flushing the print head.
- Preventive Measures: Run a cleaning cycle after each printing session, especially if the printer will be idle for an extended period. Use high-quality DTG inks and store them properly to prevent drying and sedimentation.
- Inconsistent Ink Coverage: Uneven ink coverage can result in faded prints, blotchy areas, or inconsistent color saturation. This issue can stem from improper pretreatment, incorrect platen gap settings, or problems with the print head.
- Solutions: Ensure proper pretreatment application and curing. Adjust the platen gap according to garment thickness. Check the print head for clogging or damage, and perform cleaning cycles or replace the print head if necessary.
- Preventive Measures: Maintain consistent pretreating techniques. Double-check platen gap settings for each garment type. Use a lint roller to remove lint and fibers from the garment before printing.
- Pretreat Staining: Pretreat solution, if not applied or cured properly, can leave a noticeable box-shaped mark on the garment, especially visible on darker fabrics.
- Solutions: Experiment with different pretreat solutions and adjust curing time and temperature settings to find the optimal balance for your setup. Using a high-quality pretreat machine and applying the solution evenly can minimize staining. Washing the garment after printing can sometimes help fade the pretreat mark.
- Preventive Measures: Apply pretreat only to the intended printing area, avoiding overspray. Use a lint roller to ensure the pretreated surface is smooth before printing. Experiment with pretreating techniques to find what works best for minimizing staining on your specific fabrics.
- Color Discrepancies: The colors in your printed design may not perfectly match the colors you see on your computer screen. This can be due to differences in color profiles, variations in ink batches, or the fabric’s inherent color absorption properties.
- Solutions: Calibrate your monitor to match the printer’s color profile as closely as possible. Order color swatches from your ink supplier to ensure consistency across print runs. Understand that some color variation is inevitable, especially on different fabric types.
- Preventive Measures: Use high-quality inks from a reputable supplier. Regularly profile your printer and monitor to minimize color discrepancies. Provide customers with realistic expectations regarding potential color variations, especially when using different garment colors or fabric blends.
- Fabric Compatibility Issues: Not all fabrics are compatible with DTG printing. Some synthetic fabrics, particularly those with water-repellent coatings, may resist ink absorption, leading to poor print quality or durability issues.
- Solutions: Choose DTG-compatible fabrics, typically 100% cotton or blends with a high cotton content. If printing on blends, adjust pretreat and print settings accordingly. Test print on a sample garment before committing to a large order.
- Preventive Measures: Research fabric compatibility before ordering garments. Request fabric samples from your supplier to test printability. Consider alternative printing methods, such as DTF, for incompatible fabrics.
How often do I need to maintain my DTG printer?
Regular maintenance is crucial for ensuring consistent print quality, preventing clogging, and prolonging the lifespan of your DTG printer. Here’s a basic maintenance checklist:
- Daily: Run a print head cleaning cycle after each printing session, especially if the printer will be idle for several hours. Wipe down the platen and printing area to remove any lint or ink residue. Check ink levels and replace cartridges as needed.
- Weekly: Perform a more thorough cleaning of the print head, using a cleaning solution and following the manufacturer’s instructions for flushing. Inspect the print head for any signs of damage or wear.
- Monthly: Clean the encoder strip, which helps the printer track the print head’s position. Replace the maintenance cartridge, which collects waste ink and cleaning solution.
- As Needed: Lubricate moving parts as recommended by the manufacturer. Replace the print head if it shows signs of damage or wear, or if cleaning cycles fail to resolve clogging issues.
Is it cost-effective to print single shirts with DTG?
Yes, DTG printing is incredibly cost-effective for single shirt orders and small batches. Unlike screen printing, which involves high setup costs for each design (creating screens, mixing inks, etc.), DTG eliminates those setup fees, making it ideal for personalized or one-off prints.
What types of fabrics work best with DTG printing?
100% cotton is generally considered the best fabric for DTG printing. The natural fibers absorb ink well, resulting in vibrant colors and a soft hand feel. However, you can also print on blends with a high cotton content, adjusting the pretreat and print settings accordingly. Some synthetic fabrics, like polyester, can also be printed with DTG, but may require special pretreat solutions and careful attention to curing temperatures to prevent scorching or melting.
Can I print white ink on black garments with DTG?
Absolutely! DTG printers with white ink capabilities excel in printing on dark garments. The printer lays down a white underbase layer, essentially creating a white canvas on the dark fabric, allowing the CMYK colors to appear vibrant and opaque. This underbase printing is crucial for achieving high-quality prints on black or other dark-colored garments.
Conclusion
Mastering DTG printing unlocks a world of creative possibilities for print-on-demand sellers, allowing you to offer personalized, high-quality apparel with incredible detail and vibrant colors. By understanding the fundamentals of the process, investing in the right equipment, and continually refining your workflow, you can transform your POD business into a thriving success.
This guide has equipped you with the knowledge and tools to embark on your DTG printing journey. Embrace the learning process, experiment, and don’t hesitate to seek out resources and support from experienced printers and fellow POD entrepreneurs.

