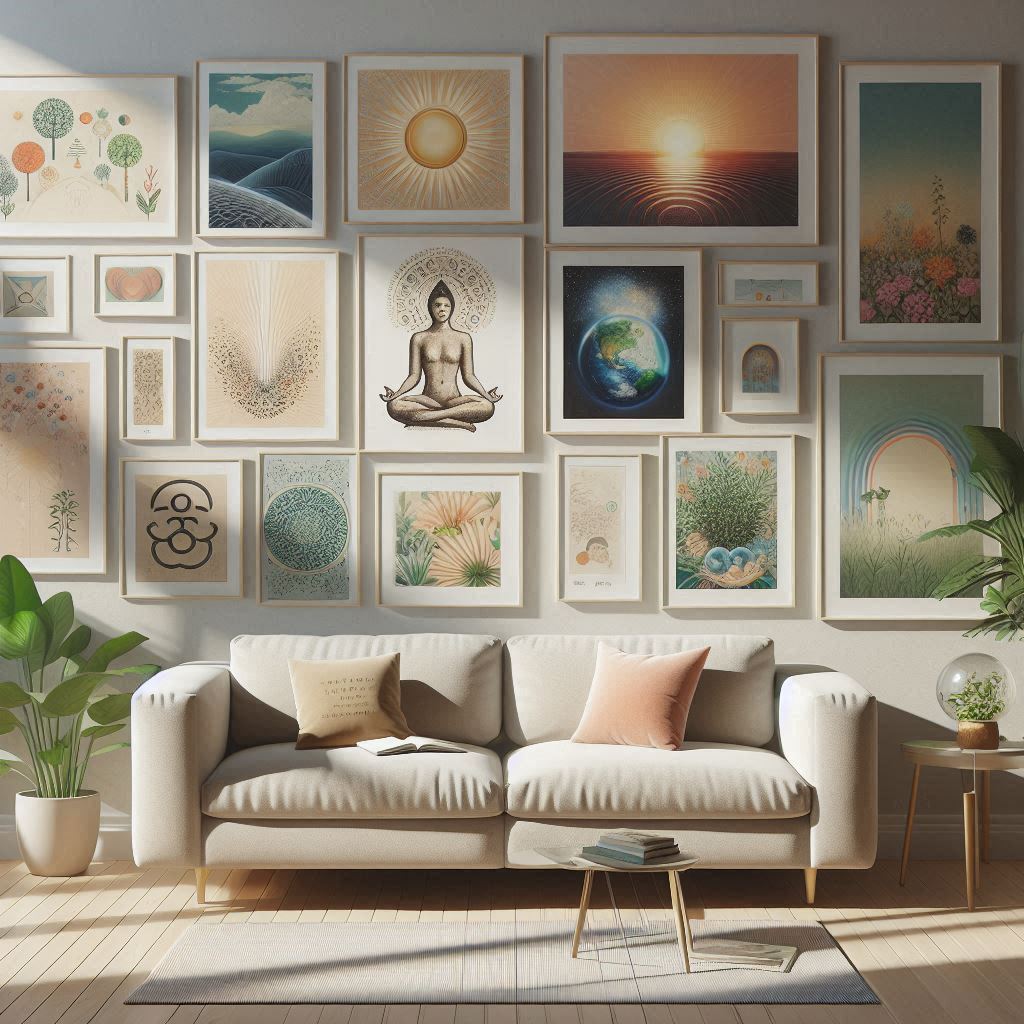
Gallery walls have exploded in popularity, transforming blank walls into captivating displays of personal style. And what better way to create a gallery wall that truly reflects your unique taste than with Society6 prints? Society6 offers an incredible variety of art from independent artists worldwide, ensuring you’ll find prints to suit any aesthetic.
This guide will walk you through creating a stunning gallery wall using Society6 prints, providing you with simple steps to achieve a cohesive and visually impactful display. Whether you opt for the flexibility of floating shelves or the classic look of directly hanging your prints, we’ll help you curate, plan, and execute your gallery wall project with confidence.
Table of Contents
- Define Your Vision & Theme
- Planning & Layout
- Selecting Your Society6 Prints
- Installing Floating Shelves (Optional)
- Arranging Your Prints
- Enjoy Your Society6 Gallery Wall!
- FAQ
Step 1: Define Your Vision & Theme
A successful gallery wall starts with a clear vision. Before diving into Society6’s vast collection, take some time to define the overall look and feel you want to achieve.
Finding Inspiration
- Explore Society6: Browse through Society6’s extensive collection of art prints. Pay attention to the color palettes, subject matter, and artistic styles that resonate with you. Search for “gallery wall society6” or “society6 gallery wall” for inspiration from other creators.
- Themes: Do you envision a vibrant, eclectic gallery wall bursting with color? Or perhaps a minimalist, monochrome display with a sophisticated edge? Maybe you’re drawn to specific themes like nature, abstract art, or photography.
- Room Aesthetic: Consider the existing style and color scheme of the room where your gallery wall will be featured. Choose a theme that complements or creates an intentional contrast with your decor.
Creating a Mood Board
Once you have some initial ideas, creating a mood board is a great way to refine your vision.
- Digital Mood Board: Use platforms like Pinterest to collect inspiring images of gallery walls that capture your desired aesthetic. Save prints from Society6 that align with your theme.
- Physical Mood Board: Print out or cut out images from magazines and arrange them on a board or large sheet of paper. Add fabric swatches, paint chips, or any other elements that represent your desired color scheme and style.
Choosing a Focal Point
Select one or two larger prints that will serve as the anchors for your gallery wall. These statement pieces will draw the eye and help guide the placement of the other prints. Position them strategically, considering the overall balance and flow of your gallery wall arrangement.
Step 2: Planning & Layout
Now that you have a strong vision, it’s time to plan the logistics of your gallery wall.
Measuring Your Wall Space
- Define the Gallery Wall Area: Use painter’s tape to outline the area on your wall where you want the gallery wall to be. This will give you a visual reference for the layout.
- Precise Measurements: Measure the height and width of the outlined area accurately. These dimensions will be essential for selecting appropriately sized prints and ensuring a balanced arrangement.
Experimenting with Layouts
Before hammering any nails or installing shelves, explore different layout options to find the most visually appealing arrangement.
- Floor Layout Method: Lay your selected prints on the floor in front of your wall. Arrange and rearrange them until you find a layout that you love.
- Photo Documentation: Take photos of different layouts to compare them side-by-side. This can help you see subtle nuances in visual weight and balance that might be harder to notice in real-time.
- Painter’s Tape Mockup (Optional): Use painter’s tape to mark the positions of the prints directly on the wall. This can give you a clearer idea of how the layout will translate to the actual wall space.
Step 3: Selecting Your Society6 Prints
With your layout in place, you can start browsing Society6 for prints that perfectly match your vision. To refine your search and find inspiring gallery wall examples, try searching “create gallery wall society6.”
Variety is Key
Society6 offers a diverse range of print options to add depth and texture to your gallery wall.
- Framed Prints: Classic framed prints are available in various frame styles and colors to complement your aesthetic.
- Canvas Prints: Canvas prints offer a textured, gallery-like feel, adding warmth and dimension to your wall.
- Metal Prints: For a modern, sleek look, consider metal prints. They have a vibrant, glossy finish that makes colors pop.
- Wood Prints: Wood prints bring a rustic, natural element to your gallery wall. The wood grain adds unique character to each print.
- Beyond Prints: Society6 also offers a range of other wall art options, including clocks, tapestries, and even wallpaper, allowing you to create a truly unique and personalized display.
Considering Size and Medium
- Statement Pieces: Large prints make bold statements and can anchor your gallery wall. Consider using your chosen focal points as your largest pieces.
- Visual Balance: Varying print sizes create visual interest and prevent the gallery wall from feeling too uniform. Don’t be afraid to mix small, medium, and large prints.
- Medium Matters: Consider the medium of your prints alongside the size. For instance, a large canvas print can create a softer, more textural feel than a large metal print.
Matching Print Styles
As you browse Society6, keep your chosen theme and mood board in mind. Look for prints that share common elements in terms of color palette, subject matter, or style to create a cohesive and intentional look.
Step 4: Installing Floating Shelves (Optional)
Floating shelves are a great way to display your Society6 prints with flexibility and ease.
Benefits of Floating Shelves
- Flexible Arrangements: Floating shelves allow you to change the arrangement of your prints easily without damaging your walls. You can swap out prints, add new ones, or rearrange the entire layout whenever inspiration strikes.
- Easy Installation: Installing floating shelves is typically a simple DIY project. Most shelves come with straightforward instructions and require minimal tools.
- Damage-Free Display: Unlike directly hanging prints, floating shelves minimize the number of holes you need to make in your walls.
Choosing Shelf Styles
Society6 doesn’t directly sell floating shelves, but you can find a wide variety of styles at home improvement stores or online retailers. Choose a style that complements your gallery wall’s aesthetic, whether it’s minimalist and modern, rustic and charming, or industrial and edgy.
Installation Tips
- Level and Anchors: Ensure you use a level to hang the shelves perfectly straight. Use appropriate wall anchors to securely mount the shelves, especially if you plan to display heavier items.
- Consult a Guide: If you’re new to DIY projects, consult a helpful guide or video online that demonstrates how to properly install floating shelves.
Step 5: Arranging Your Prints
Now comes the exciting part – bringing your gallery wall to life!
Placement Based on Layout
Refer to your chosen layout from Step 2 to guide the placement of your prints. Whether you’re directly hanging the prints or arranging them on floating shelves, the layout provides a roadmap for achieving visual balance and harmony.
Balancing Visual Weight
- Even Distribution: Distribute prints of different sizes evenly across the gallery wall to create a balanced look. Avoid clustering all of your larger prints in one area, which can make the display feel lopsided.
- Grounding with Larger Prints: Placing larger prints towards the bottom of your gallery wall can create a more grounded and stable feel.
Spacing Between Prints
- Consistent Spacing: Leave consistent spacing between prints for a clean and cohesive look. A common starting point is 2-3 inches between prints, but you can adjust this based on your personal preferences and the overall size of your gallery wall.
Step 6: Enjoy Your Society6 Gallery Wall!
Admire your handiwork! You’ve successfully created a unique gallery wall that showcases your style and brings personality to your space. One of the great things about using Society6 prints is that as your taste evolves, so can your gallery wall. Feel free to rearrange your existing prints, swap in new favorites, or even add additional elements to keep your gallery wall feeling fresh and exciting.
FAQ
Q: What if I don’t want to use floating shelves?
A: No problem! You can achieve a beautiful gallery wall by directly hanging prints on the wall. Follow the same planning and layout steps outlined above. Ensure you use appropriate hanging hardware for each print type, considering the weight and size of the prints.
Q: How do I choose a color palette for my gallery wall?
A: Consider the existing colors in your room and choose prints that either complement or create an intentional contrast. For instance, if your room has cool-toned walls, you might choose prints with warm tones to add vibrancy. Or, you could create a calming effect by sticking with a monochromatic color scheme.
Q: Can I mix different art styles in a gallery wall?
A: Absolutely! Mixing styles can infuse your gallery wall with unique personality and visual interest. However, aim for a unifying element, like a consistent color scheme or a shared subject matter, to create a cohesive look even with a mix of styles.
Q: What is Society6’s commitment to print quality?
A: Society6 is dedicated to producing high-quality art prints that faithfully reproduce the original artwork of the independent artists they partner with. They use premium materials, including archival inks and fine art papers, ensuring your prints will be vibrant and long-lasting. Society6 takes pride in their meticulous printing process, from color management to quality checks, guaranteeing that each print meets their high standards.