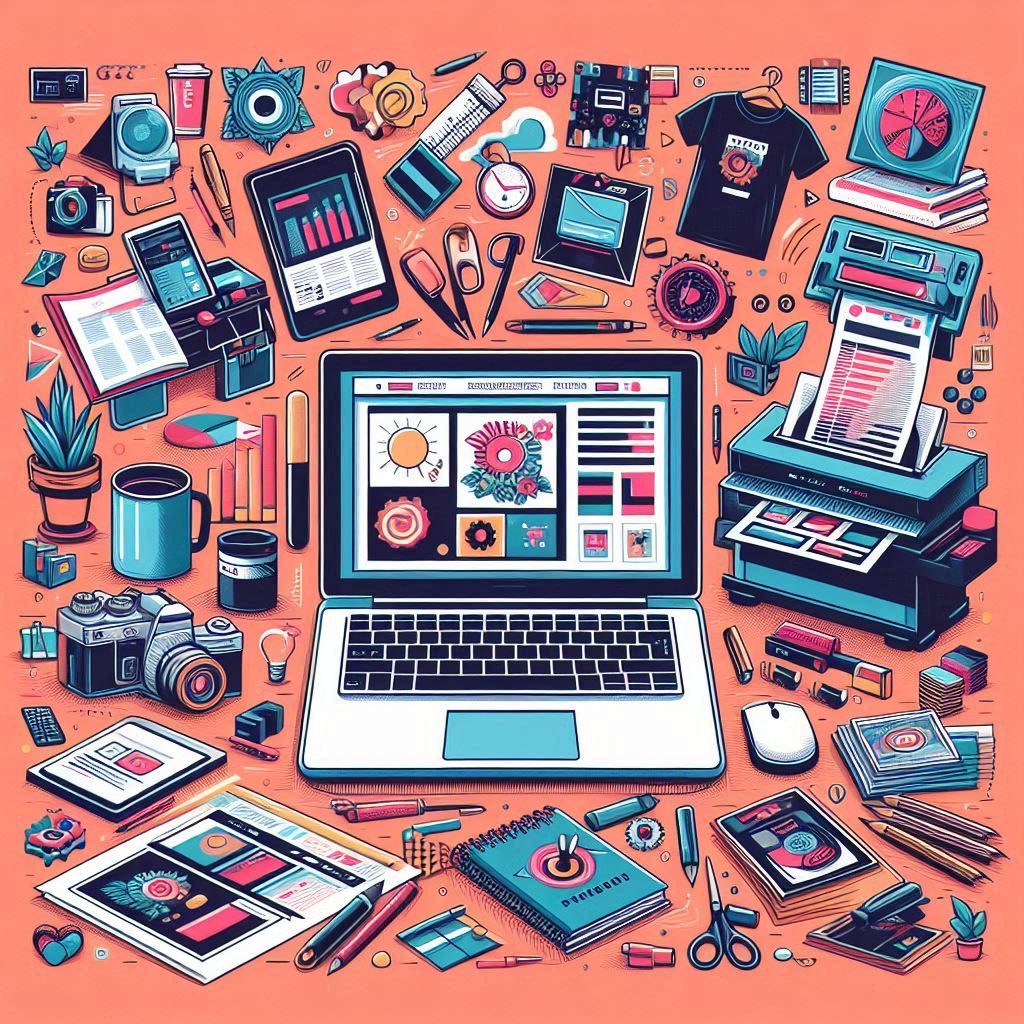
The world of print-on-demand (POD) offers incredible opportunities for creative entrepreneurs to bring their designs to life on a wide range of products. Printful, a leading POD platform, allows you to easily create and sell custom products without managing any inventory. However, one crucial aspect that often trips up beginners is understanding the “printful image requirements” for print-ready designs. A poorly prepared design can lead to disappointing print quality, impacting customer satisfaction and your brand’s reputation. This comprehensive guide will walk you through everything you need to know to create print files that ensure your designs look their absolute best on Printful products.
Table of Contents
- 1. Understanding Printful’s Design Tools
- 2. Navigating Printful’s File Guidelines
- 3. Choosing the Right File Type and Size
- 4. Understanding Resolution: DPI and Pixel Dimensions
- 5. Designing for Full Bleed and Safe Print Area
- 6. Ensuring Perfect Prints: Background Removal and Mockup Review
- 7. Managing Color Expectations
- 8. Seeking Assistance: Printful’s Customer Support
- FAQ Section
Printful has emerged as a game-changer in the world of custom merchandise and apparel, providing a streamlined process for creating and selling personalized products. The beauty of POD lies in its simplicity: you design, they print and ship directly to your customers. But to truly succeed in this field, mastering the “printful guidelines” for image preparation is paramount.
Many newcomers to POD struggle to understand the intricacies of print file creation. Common issues include blurry prints due to low resolution, unintended printing of leftover background elements, and color discrepancies between the screen and the final product. This blog post will serve as your ultimate guide to navigating Printful image requirements, ensuring your designs are truly “print ready design” and meet the highest quality standards.
1. Understanding Printful’s Design Tools
1.1 The Design Maker: A Beginner-Friendly Option
Printful’s Design Maker is a fantastic tool for those who don’t have extensive experience with graphic design software. It’s free to use, accessible directly from the Printful platform, and offers an intuitive interface for creating your product designs. With the Design Maker, you can easily create a product template by selecting your desired item from Printful’s extensive catalog. You’ll be able to choose the preferred fulfillment technique, garment colors, and sizes before you even start designing.
The Design Maker allows you to upload your own designs, add text elements, incorporate fun clipart, and even utilize premium assets from their image library. It’s a powerful yet user-friendly tool that empowers even beginners to create professional-looking designs. If you’re new to the Design Maker, exploring their tutorials can help you quickly grasp its features and unleash your creativity.
1.2 Using Graphic Design Software
For users who are comfortable working with professional graphic design software like Adobe Photoshop, Illustrator, or Procreate, Printful provides detailed “printful file digitization” guidelines. These guidelines, tailored to each specific product, are essential for achieving the desired print results.
It’s important to remember that different product types have different print areas and size requirements. For example, a phone case will have a much smaller print area compared to a blanket. Downloading the relevant file guidelines ensures you’re working with the correct dimensions and resolution for your chosen product.
2. Navigating Printful’s File Guidelines
2.1 Finding the Guidelines
Printful makes it incredibly easy to access their file guidelines, ensuring you have the information you need at your fingertips:
- Within the Design Maker: When designing a product, the file guidelines for that specific product are readily available in the product tab.
- Product Catalog Description: If you’re browsing the product catalog, you can find the file guidelines conveniently located within the product description.
- Dedicated File Guidelines Tab: Printful also has a dedicated “File Guidelines” tab on their website, where you can find all the information categorized by product type.
2.2 Utilizing the Guidelines
The print file guidelines are typically available in two formats: PNG and PSD (Photoshop). The PNG file is a visual representation of the print area, while the PSD file contains layer information and guides. Most graphic design software can open PSD files, but if yours doesn’t, you can recreate the dimensions manually.
The guidelines will provide you with all the necessary information to set up your design file correctly:
- File Dimensions: The exact width and height of the print area in inches.
- Resolution: Printful generally recommends a resolution of 300 DPI (dots per inch) for optimal print quality.
- Color Profile: The preferred color profile for Printful print files is sRGB IEC6.
You can use the PNG version of the guideline as a template by importing it into your design software. This will allow you to easily align your design elements within the designated print area. You can get the “printful image requirements” for each product in the file guidelines.
3. Choosing the Right File Type and Size
3.1 PNG vs. JPEG: A Breakdown
Understanding the difference between PNG and JPEG file formats is crucial for achieving the desired print outcome:
- PNG (Portable Network Graphics): PNG files support transparency, which means you can have a transparent background behind your design elements. This is particularly important for direct-to-garment (DTG) printing, as it allows the color of the garment to show through.
- JPEG (Joint Photographic Experts Group): JPEG files do not support transparency, so the background will always be filled with a solid color.
For DTG printing, always use PNG for your design files. However, for UV printed and all-over print products, the choice between PNG and JPEG depends on your design:
- Transparent Elements: Use PNG if you want your logo or small design to have a transparent background.
- Full-Print Designs: For designs that cover the entire print area, JPEG is a better choice as it generally results in smaller file sizes.
3.2 File Size Matters
Keeping file size small is crucial for smooth uploads and efficient processing, especially for large all-over print products like blankets and flags. Printful has a maximum file size limit of 200 MB.
PNG files, especially those with large dimensions, can easily exceed this limit. If you’re working with a full-print design, opting for JPEG can significantly reduce the file size without compromising print quality.
4. Understanding Resolution: DPI and Pixel Dimensions
4.1 What is DPI?
DPI, or dots per inch, is a measure of image resolution. It refers to the number of pixels contained within one inch of an image. The higher the DPI, the more pixels are packed into that inch, resulting in sharper and more detailed prints.
Using low-resolution images for printing can lead to pixelation—where individual pixels become visible—making your print look blurry and unprofessional.
4.2 Pixel Dimensions for Pixel-Based Designs
When working with pixel-based designs, it’s important to calculate the correct pixel dimensions to ensure your design is printed at the desired size and resolution. To do this, you need to consider the print area of the product and the desired DPI:
Formula:
Pixel Width = (Width in inches x DPI)
Pixel Height = (Length in inches x DPI)
Example:
Let’s say you’re designing for a unisex shirt with a front print size of 12 x 16 inches and you want to print at 300 DPI. The correct pixel dimensions for your design file would be:
Pixel Width = (12 inches x 300 DPI) = 3600 pixels
Pixel Height = (16 inches x 300 DPI) = 4800 pixels
4.3 Print Quality Measure in the Design Maker
The Design Maker includes a handy visual indicator that reflects the print quality of your design as you scale it. This indicator, often represented as a bar, changes color based on the pixel density.
When you make the design bigger, you’re essentially stretching the pixels across a larger area, decreasing the DPI. This can make the print look blurry or pixelated. The lower the DPI, the more noticeable this effect becomes.
While the minimum “printful dpi” requirement for DTG and all-over print products is 150 DPI, aiming for the recommended 300 DPI across all your products ensures crisp, clear prints and minimizes the risk of pixelation.
5. Designing for Full Bleed and Safe Print Area
5.1 Full Bleed: Extending to the Edges
“Full bleed” refers to a design that extends to the edges of the printable area. This is particularly important for products like canvas prints and all-over printed items. If your design doesn’t cover the entire print area, you may end up with unprinted sections around the edges, leaving unsightly white borders.
When designing for full bleed, make sure your design elements extend beyond the final trim line. This ensures that even if there are slight variations during the cutting process, your design will still reach the edges of the product.
5.2 Safe Print Area: Keeping Crucial Elements Intact
The “safe print area” is a smaller area within the full print area. It represents the zone where it’s safe to place important design elements—like text, logos, or details—that you don’t want to risk being cut off or hidden in seams during the production process.
Placing elements outside the safe print area increases the likelihood of them being trimmed during production. For example, on a t-shirt, elements outside the safe area might be hidden in the seams when the garment is sewn together.
Both the Design Maker and the downloadable file guidelines clearly indicate the safe print area. Ensure all essential design elements are placed within this boundary to avoid potential disappointments.
6. Ensuring Perfect Prints: Background Removal and Mockup Review
6.1 Removing Backgrounds
Removing the background from your design is absolutely crucial, even if it seems like a minor detail. Leftover background elements, even those that are barely visible, can cause unintended printing.
This is particularly important for DTG printing, where a white underbase is printed beneath the design to enhance color vibrancy on colored garments. This white underbase can highlight even slightly visible leftover background pixels, leading to a white box or halo around your design.
To check for leftover background pixels after you think you’ve removed them, try placing a brightly colored background behind the object. Another method is to duplicate the design layer several times. If any faint remnants of the background remain, they will become more apparent when layered on top of each other.
6.2 Background Removal Tool
Printful’s Design Maker offers a handy background removal tool to simplify this process. Powered by AI, it automatically removes the background from images. However, it works best with high-contrast images that have simple backgrounds. Images with complex backgrounds or objects with blurred edges might not be erased accurately.
6.3 Mockup View
Before finalizing your design, always review the mockup provided in the Design Maker. This gives you a visual representation of how your design will look on the actual product. Keep in mind that the mockup might not perfectly reflect the final print in terms of color and contrast, but it provides a good approximation of the outcome.
7. Managing Color Expectations
7.1 Factors Affecting Print Colors
One common challenge in POD is managing color expectations. The colors you see on your screen might not perfectly match the colors of the final printed product. This discrepancy can be attributed to several factors:
- Fabric Material and Color: Different fabrics absorb and reflect light differently, which can affect how colors appear. Printing on a white garment will generally result in more accurate color reproduction compared to printing on a colored garment.
- White Underbase (DTG): The white underbase used in DTG printing can also influence color perception, making the print appear more vibrant on colored garments.
- Color Settings: Your monitor’s color calibration and the color settings you’ve applied during the design process can also impact how colors translate to print.
Printful has a helpful video that dives deeper into color correction techniques. I highly recommend checking it out to understand how to adjust your designs to achieve the most accurate color representation on different products.
7.2 Contrast and Visibility
Choosing design colors that contrast well with the garment color is essential for ensuring your design is clearly visible and impactful. Avoid using design colors that are similar to the garment color, as this can make your design blend in and appear almost invisible.
7.3 Ordering Samples
If you’re unsure how your color choices will translate to print, ordering a sample product is always a good idea. This allows you to see the actual printed colors and assess whether they meet your expectations before you start selling the product.
8. Seeking Assistance: Printful’s Customer Support
If you encounter any challenges with creating your design print files or have questions regarding Printful’s image requirements, their dedicated customer support team is always ready to assist you. You can reach out to them at [email protected] for guidance and support.
FAQ Section
What is the best DPI for Printful designs?
While the minimum requirement for DTG and all-over print is 150 DPI, aiming for 300 DPI consistently ensures the best print quality across all Printful products. Higher DPI means more pixels per inch, resulting in crisper and more detailed prints.
Can I use PDF or Photoshop files for my Printful designs?
While you can technically upload these files, it’s best to avoid using them directly. File types like PDF, PSD (Photoshop), and AI (Illustrator) can sometimes cause printing issues due to hidden layers. For smooth printing, stick to PNG and JPEG.
Why is my Printful print blurry?
Blurry prints usually indicate that the image resolution is too low. Ensure your file meets the 300 DPI requirement. You can check the print quality indicator in the Design Maker while scaling your design. If it indicates low quality, increase the resolution of your design or reduce its size.
My design has a white box around it after printing, why?
This often happens due to incomplete background removal. Even faint elements in the background can be picked up by the white underbase used in DTG printing. Make sure to erase the background completely, including any seemingly invisible remnants. Use a contrasting background or duplicate the design layer several times to check for any leftover pixels.