Table of Contents
- Introduction: Unleash Your Creativity with Spreadshirt
- Chapter 1: Getting Started with Spreadshirt
- Chapter 2: Designing for Success
- Chapter 3: Uploading Designs and Creating Products
- Chapter 4: Optimizing Product Listings
- Chapter 5: Publishing Your Designs
- Chapter 6: Launching Your Spreadshop
- FAQ Section
Introduction: Unleash Your Creativity with Spreadshirt
Spreadshirt is a dynamic print-on-demand platform that empowers you to design and sell your own custom merchandise, risk-free and with minimal effort. Forget about managing inventory or handling shipping and payments; Spreadshirt takes care of it all, allowing you to focus on what you love – creating!
Whether you’re a seasoned designer or just starting to explore your artistic side, Spreadshirt offers two distinct avenues to bring your ideas to life:
- Spreadshirt Marketplace: Tap into a vast existing audience of thousands of shoppers actively seeking unique designs. This is the perfect starting point for newcomers to the world of print-on-demand.
- Spreadshop: Build your own branded online store, giving you complete control over your brand identity and customer experience. This option is ideal for established brands, businesses, or those looking to cultivate a loyal following.
Chapter 1: Getting Started with Spreadshirt
Step 1: Choose Your Selling Platform
Deciding between the Spreadshirt Marketplace and a Spreadshop is the first crucial step. Consider your goals, brand recognition, and target audience. The Marketplace offers instant access to eager customers, while a Spreadshop provides more branding flexibility and control.
Step 2: Create Your Account
Head over to Spreadshirt.com and click “Start Selling” to begin your print-on-demand journey. The registration process is straightforward, requiring your email address, a secure password, and your chosen shop name if you’re opting for a Spreadshop.
Step 3: Familiarize Yourself with the Dashboard
Once you’ve created your account, you’ll be greeted by the Spreadshirt dashboard. This is your central hub for managing designs, products, and sales. Explore the navigation panel on the left and familiarize yourself with its key features:
- Design Uploads: This is where you’ll upload your captivating spreadshirt designs.
- Product Selection: Discover a wide array of products to showcase your creations.
- Shop Customization (for Spreadshops): Tailor your shop’s appearance, branding, and product categories.
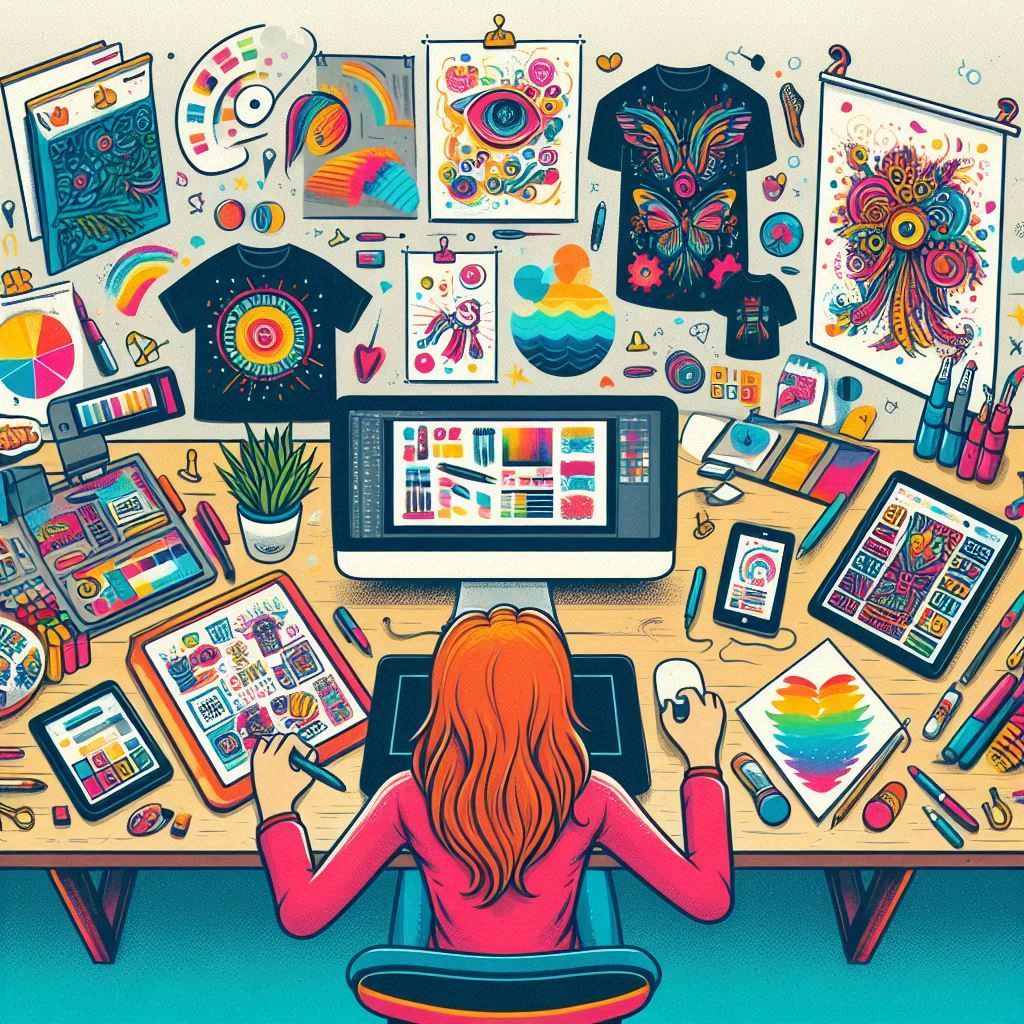
Chapter 2: Designing for Success
Understanding Design Requirements
Before you unleash your creative genius, ensure your spreadshirt designs meet the platform’s requirements:
- Accepted File Formats: Spreadshirt accepts JPG, PNG, GIF, SVG, AI, and CDR files.
- Recommended Format: PNG is generally the preferred format for most designs due to its ability to handle transparency and maintain image quality.
- Image Optimization: Spreadshirt automatically optimizes uploaded designs, but always aim for high-quality, high-resolution images to guarantee sharp and vibrant prints.
Tools for Creating Designs
While any design software can be used, Canva Pro stands out as a user-friendly and feature-rich option, especially for print-on-demand. Its benefits include:
- T-shirt Templates: Jumpstart your designs with pre-made t-shirt templates tailored for various styles and niches.
- Royalty-free Images: Access a vast library of high-quality images that are free to use commercially.
- Background Remover Tool: Easily isolate your design elements and create transparent backgrounds for a clean and professional look.
Of course, you can also explore other design software like Adobe Illustrator or Inkscape for more advanced editing capabilities.
Design Tips for Eye-Catching Merchandise
To create spreadshirt designs that truly resonate with customers and drive sales, consider these essential spreadshirt design tips:
- Focus on Simplicity: Clear, concise, and instantly recognizable spreadshirt designs tend to perform best. Avoid overly complex or intricate designs that may be difficult to understand at a glance.
- Typography Matters: Choose fonts that are not only visually appealing but also highly legible, especially on smaller products. The right font can enhance your design’s message and overall impact.
- Color Choice is Crucial:
- Product Color Harmony: Always consider how your design will appear on different product colors. Some colors might clash or obscure elements of your design.
- Limited Palette: Using a limited color palette can create a more cohesive and visually appealing design.
- Target Your Audience:
- Niche Appeal: Understanding your target audience’s interests, preferences, and humor is paramount. Tailor your spreadshirt designs to their specific niche.
- Trend Research: Stay ahead of the curve by researching current trends and popular designs in your target market.
- Vector Graphics for Versatility: Vector graphics, especially for products like caps or items with embroidery, offer scalability without losing quality. They ensure your spreadshirt design looks sharp regardless of spreadshirt design size.
Chapter 3: Uploading Designs and Creating Products
Uploading Your Designs
Once you’ve crafted your masterpiece, it’s time to upload it to Spreadshirt. The platform provides a clear step-by-step process, making it simple even for first-timers. After uploading, Spreadshirt automatically reviews and optimizes your image to ensure optimal print quality.
Selecting and Editing Products
Spreadshirt offers a wide selection of products, including t-shirts, hoodies, tank tops, mugs, tote bags, aprons, and much more. Choose the products that best complement your design and resonate with your target audience.
Here’s a breakdown of the product customization process:
- Choosing Product Types and Colors: Select the desired product types and explore the available color variations. Remember to check how your spreadshirt design looks on each color option.
- Adjusting Spreadshirt Design Size, Placement, and Rotation: Use the intuitive editing tools to resize, reposition, and rotate your design to achieve the perfect placement on each product.
- Working Within the Designated Print Area: Pay close attention to the designated print area on each product. Exceeding this area can lead to design elements being cut off during printing.
- Deactivating Unsuitable Color Options: If your spreadshirt design clashes with certain product colors or becomes difficult to see, deactivate those color options to ensure a high-quality final product.
- Customizing Print Areas for Front and Back Prints: Some products, like t-shirts, allow for both front and back prints. You can customize each print area individually to showcase different aspects of your design.
Optimizing for Different Products and Colors
Previewing your spreadshirt design on various products and color variations is crucial. A design that looks fantastic on a white t-shirt might appear entirely different on a dark hoodie. Adjust spreadshirt design size, color, or even design elements to ensure optimal visibility and aesthetics across all product options.
Chapter 4: Optimizing Product Listings
Crafting Compelling Design Names
Your spreadshirt design name is the first thing potential buyers see. Keep it concise, descriptive, and enticing. Use a maximum of 50 characters and incorporate relevant keywords that shoppers are likely to use when searching for products like yours.
Writing Effective Design Descriptions
Your design description is your chance to connect with potential customers, provide details about your artwork, and influence their purchasing decision. Utilize up to 200 characters to create a compelling and informative description, including relevant keywords, essential product information, and care instructions.
Choosing Strategic Tags
Tags play a crucial role in making your designs discoverable on the Spreadshirt Marketplace. Use all 25 available tag slots wisely, selecting relevant and specific keywords that accurately reflect your design’s theme, style, and target audience.
Chapter 5: Publishing Your Designs
Finalizing and Submitting for Review
Once you’ve optimized your product listings, it’s time to submit your designs for review. Spreadshirt has a quality control process to ensure that all designs meet their standards. This can take up to 10 days, so be patient while your creations await approval.
Setting Up Payment Details
Before your spreadshirt designs go live, configure your payment information to receive earnings from your sales. Spreadshirt offers convenient options like bank account transfers or PayPal. Familiarize yourself with any relevant tax information or requirements as well.
Chapter 6: Launching Your Spreadshop
Customizing your Storefront
If you’ve chosen to open a Spreadshop, personalize your store to create a unique brand experience. Upload your logo, select a color scheme that reflects your brand identity, and customize the navigation panel and product categories for easy browsing. Promote your shop on social media and consider utilizing Spreadshirt’s marketing tools to reach a wider audience.
Managing Orders and Payments
The Spreadshirt dashboard provides tools to effortlessly track orders, sales, and payouts. You’ll have a clear overview of your shop’s performance, allowing you to monitor your success and make informed decisions.
FAQ Section
Q: How long does it take for spreadshirt designs to be approved on Spreadshirt?
A: The review process can take up to 10 days.
Q: What if my spreadshirt design is rejected?
A: Spreadshirt provides reasons for rejection. Adjust your design accordingly and resubmit it for another review.
Q: Can I use copyrighted images in my designs?
A: No, using copyrighted material violates Spreadshirt’s terms of service. Create original artwork or source royalty-free images and elements.
Q: What are the best file formats for my designs?
A: PNG is generally recommended for most designs, while SVG is ideal for vector graphics.
Q: How do I get paid for my sales?
A: Configure your preferred payment method, such as your bank account or PayPal, within your Spreadshirt dashboard.