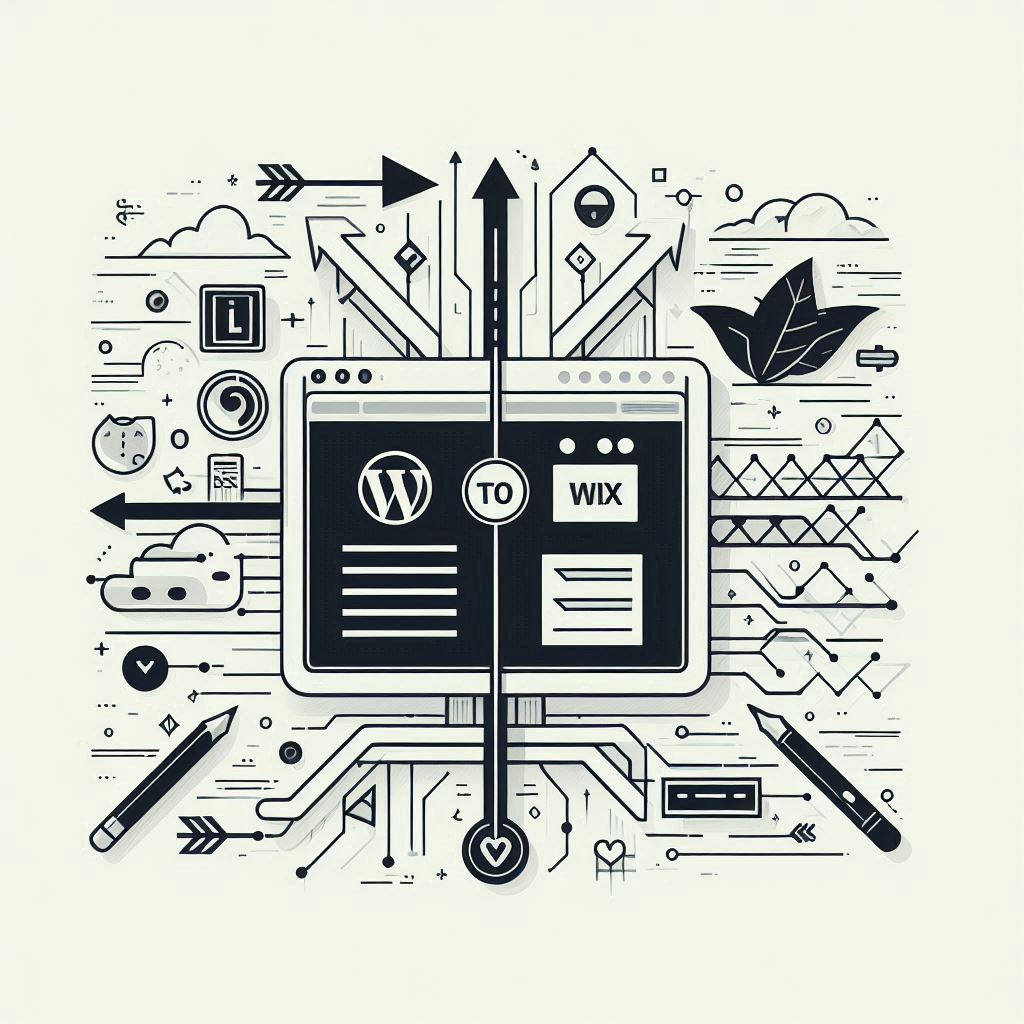
Building a successful online presence often involves choosing the right platform for your website. While WordPress is renowned for its flexibility and customization, Wix shines with its user-friendliness and intuitive website-building process. This guide provides a comprehensive walkthrough for migrating your website from WordPress to Wix.
Table of Contents
- I. Introduction
- II. Assessing Your WordPress Site & Migration Goals
- III. Preparing for the Wix Migration
- IV. Step-by-Step Migration Process
- V. Post-Migration Considerations
- VI. FAQs
- VII. Conclusion
I. Introduction
Website migration is the process of transferring your website’s files, database, and content from one platform or hosting environment to another. It’s akin to moving your digital storefront to a new location, ideally with a smoother transition and enhanced functionalities.
Wix and WordPress are both popular platforms for building websites, each catering to different audiences. WordPress, a powerful content management system (CMS), provides granular control over every aspect of your site, but demands technical expertise, particularly for customization and maintenance. Wix, a user-friendly website builder, offers intuitive tools for beginners, making the process straightforward and visually driven.
This guide focuses on making the migration from WordPress to Wix as seamless as possible, addressing each step in detail.
II. Assessing Your WordPress Site & Migration Goals
Before embarking on the migration journey, it’s crucial to understand your current WordPress setup and define your migration goals:
Understand Your Current Setup:
- WordPress Version: Determine if you’re using a self-hosted WordPress (WordPress.org) or a hosted version (WordPress.com). This dictates the export process and the elements you have control over.
- Plugins & Themes: Make a list of the plugins and themes currently active on your WordPress site. This inventory helps you identify functionalities you need to replicate on Wix.
- Site Size & Complexity: Evaluate the size of your website (number of pages and posts) and its complexity in terms of design and functionality. Larger or more intricate sites might require additional planning and resources.
Define Your Migration Goals:
- Reasons for Switching: Clearly outline your motivations for migrating to Wix. Is it the ease of use, built-in features, simplified maintenance, or a desire for a fresh design?
- Essential Functionalities: Are there specific functionalities from your WordPress site that are essential to transfer? This could include e-commerce features, contact forms, or custom integrations.
- Content Priorities: Determine what aspects of your WordPress content are paramount to transfer (posts, pages, media, categories). Understand that some elements might require manual adjustments after the import.
III. Preparing for the Wix Migration
Once you’ve assessed your WordPress site and migration goals, it’s time to prepare for the Wix transition:
Choose the Right Wix Plan:
Wix offers a variety of plans to suit different needs and budgets. Here are some things to consider when choosing a plan:
- Cost: Wix plans range from free to over $50 per month.
- Features: The features included in each plan vary. For example, some plans include a free domain name, while others do not.
- Storage and bandwidth: The amount of storage space and bandwidth you need will depend on the size and traffic of your website.
- E-commerce features: If you plan to sell products or services online, you’ll need a plan that includes e-commerce features.
- Customer support: The level of customer support you receive will also vary depending on the plan you choose.
Familiarize Yourself with the Wix Editor:
The Wix editor is a drag-and-drop interface that makes it easy to create and customize your website. Before you start migrating your content, take some time to get familiar with the editor. You can find plenty of tutorials and resources on the Wix website.
IV. Step-by-Step Migration Process
1. Exporting Your WordPress Content
To begin the migration process, you’ll need to export your WordPress content:
- Log in to Your WordPress Dashboard: Access your WordPress site’s administrative backend.
- Navigate to “Tools” > “Export”: This section handles the exporting of your website data.
- Select “All Content”: Choose this option to export all your posts, pages, media, categories, tags, and other site data.
- Download the XML File: WordPress will generate an XML file containing all your selected data. Save this file to your computer.
2. Creating Your Wix Website
With your WordPress content exported, it’s time to set up your new Wix site:
- Create a Wix Account: If you don’t already have one, create a new Wix account or sign in with your existing credentials.
- Choose a Template: Wix provides a vast collection of professionally designed templates. Select one that aligns with your brand identity and website goals.
- Customize Your Template: Use Wix’s intuitive editor to tailor the template to your specific needs. Adjust colors, fonts, images, and layouts to create a unique and engaging website.
3. Importing Your WordPress Content into Wix
Now you can import your previously exported WordPress content into your new Wix site:
- Find the Wix Import Tool: Access the “Import Content” feature on your Wix dashboard. This option is often found within specific apps like the Wix Blog app.
- Select “WordPress”: Choose “WordPress” as the source platform from which you’ll be importing your content.
- Upload the XML File: Select the XML file you downloaded from your Wordp ress site and upload it to Wix. Wix will process the file and begin importing your content.
- Review Imported Content: Once the import is complete, meticulously review the imported content on your Wix site. Pay attention to formatting, image placement, and link functionality. Some manual adjustments might be necessary to ensure everything looks and works as intended.
4. Domain Name Transfer (If Applicable)
If you’re using a custom domain name with your Wordp ress website and want to keep using it with your new Wix site, you’ll need to transfer the domain:
- Unlock Your Domain: Contact your current domain registrar (the company you purchased your domain from) and request to unlock your domain for transfer. This prevents unauthorized transfers.
- Obtain the Authorization Code: Your registrar will provide you with a unique authorization code (often referred to as an EPP code). This code is required to initiate the transfer.
- Start the Transfer Process on Wix: In your Wix dashboard, go to the “Domains” section and initiate the domain transfer process. You’ll be prompted to enter the authorization code.
- Confirm the Transfer: Follow the instructions provided by both Wix and your current registrar to verify and complete the domain transfer. This process can take a few days.
5. Replicating Missing Functionality
WordPress, with its vast plugin library, might offer functionalities that don’t have direct equivalents on Wix. In such cases, explore these options:
- Wix App Market: Browse Wix’s App Market for apps that provide similar functionalities to your essential WordPress plugins.
- Custom Code (Wix Velo): If you have coding experience, consider using Wix Velo, a platform that allows you to add custom JavaScript code to enhance your Wix site’s functionalities.
- Alternative Solutions: If exact replicas aren’t feasible, consider adjusting your website’s functionality or finding alternative ways to achieve similar results.
6. SEO Optimization for Your Wix Site
Maintaining your website’s SEO rankings is crucial during a migration. Here’s how to ensure a smooth SEO transition:
- Set Up 301 Redirects: 301 redirects are permanent redirects that inform search engines that a page has moved to a new location. Use Wix’s redirect tools to map your old WordPress URLs to the corresponding URLs on your new Wix site. This preserves your link equity and prevents users from encountering broken links.
- Utilize Wix’s SEO Tools: Wix offers built-in SEO tools that help you optimize your website’s content for search engines. Use these tools to set page titles, meta descriptions, alt text for images, and other important SEO elements.
- Implement General SEO Best Practices: Beyond Wix’s specific tools, adhere to general SEO best practices, such as creating high-quality content, building internal links, optimizing for relevant keywords, and submitting your sitemap to search engines.
7. Testing and Launching Your Wix Website
Before you unveil your new Wix site to the world, thorough testing is paramount:
- Check All Content and Links: Review all imported content to ensure accuracy, formatting consistency, and proper display of images and videos. Test all links to verify they lead to the correct destinations.
- Functionality Testing: Test all functionalities, including contact forms, e-commerce processes (if applicable), and any interactive elements on your site.
- Mobile Responsiveness: Ensure your Wix site looks and performs seamlessly across different devices, including desktops, laptops, tablets, and smartphones.
- Publish Your Website: Once you’re confident that your Wix website is fully functional and error-free, publish it. Double-check your domain settings to confirm it’s properly connected and directing traffic to your new Wix site.
V. Post-Migration Considerations
With your Wix site successfully launched, remember these ongoing considerations:
- Maintenance and Updates: Wix handles most website maintenance, security updates, and backups automatically, making it much simpler than Wordp ress in this regard. Familiarize yourself with Wix’s backup and recovery procedures.
- Exploring Wix Features: Wix offers various built-in features beyond basic website building. Explore these features, including marketing tools, analytics dashboards, e-commerce options, and integrations with other services, to enhance your site’s functionality and grow your online presence.
- Professional Assistance: For complex customizations or if you encounter technical challenges, don’t hesitate to seek assistance from a Wix expert. Wix’s Marketplace connects you with professionals who can help with design, development, SEO, and more.
VI. FAQs
What happens to my WordPress site after I migrate to Wix?
Your Wordp ress site remains active, but to avoid duplicate content issues and potential confusion for users, you should set up a 301 redirect from your old Wordp ress site to your new Wix site.
Can I import comments from my WordPress blog posts to Wix?
Unfortunately, the standard WordPress XML export doesn’t include comments. You might need to look for third-party plugins or solutions specifically designed for migrating comments, or consider starting fresh with Wix’s commenting system.
How do I manage functionalities from WordPress plugins that don’t exist on Wix?
First, check if there are Wix apps in their App Market that offer similar functionality. If not, consider if you can achieve the same result through a different approach or custom code using Wix Velo, Wix’s platform for adding custom JavaScript code.
Is Wix SEO as effective as WordPress SEO with plugins?
While Wordp ress offers a vast selection of SEO plugins, Wix’s built-in SEO tools are quite comprehensive and generally sufficient for most websites. The key is to diligently use Wix’s SEO features and implement general SEO best practices regardless of the platform.
What are the biggest challenges when switching from WordPress to Wix?
Common challenges include replicating custom functionalities from WordPress plugins that don’t have direct Wix equivalents, potential formatting inconsistencies after the content import, and ensuring a smooth domain name transfer without downtime.
How long does a Wordp ress to Wix migration take?
The duration depends on several factors, including the size and complexity of your WordPress site, the amount of content you’re moving, and the time you spend customizing your Wix website. It’s best to allocate at least a few days to a week for the entire process.
VII. Conclusion
Migrating from WordPress to Wix can be an advantageous decision, particularly for users who prioritize ease of use and streamlined website management. By following this step-by-step guide, you can ensure a successful transition, maintain your SEO rankings, and fully utilize Wix’s intuitive platform to establish a compelling online presence. Embrace the simplicity and power of Wix and enjoy building your new website!